Image Sharpener & Upscaler

Enlarge photos up to 8× and sharpen the details, free and right in your browser. Add up to 50 images, compare before and after, then download one by one or as a ZIP.

Private by design: your photos are processed on your own device and are never uploaded.

Drop your photos here, or

JPG, PNG, WebP, GIF, BMP or AVIF (if your browser supports it). Up to 50 photos, 50 MB and 25 MP each. You can also paste an image with Ctrl+V.

Make Small or Soft Photos Bigger and Crisper

Image Sharpener & Upscaler enlarges a picture and then sharpens its edges so it holds up better at a larger size. Choose a factor from 1.5× to 8× or type an exact width, adjust the sharpening and noise reduction, and process one photo or up to fifty in a single run. Your files stay on your device the whole time, so nothing is uploaded and no account is needed.
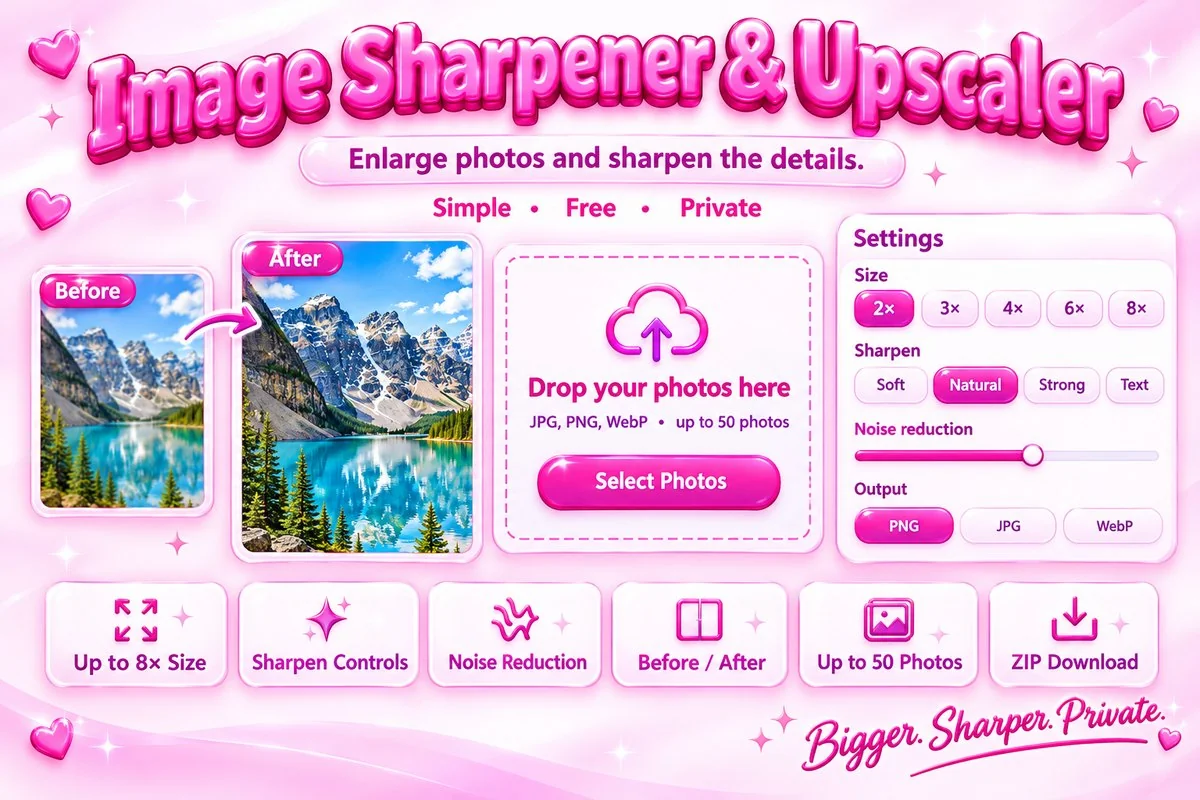
Banner showing a before and after photo with upscale, sharpen and noise options
Compare the original with the result before you download.

Under the hood it uses classic image processing rather than artificial intelligence. Enlarging is done with either your browser’s smooth resampling or a Lanczos filter, and sharpening uses an unsharp mask with adjustable amount, radius and threshold. These methods improve clarity and size, but they cannot recover detail that was never in the original picture.

How to Use It

  1. Select photos, drop them onto the box, or paste an image. Click a thumbnail to preview it.
  2. Pick the upscale size and a sharpening preset, then fine-tune the sliders if you like.
  3. Choose PNG, JPG or WebP and press Sharpen & Upscale. A progress bar shows each photo.
  4. Drag the comparison handle, then download a single result or use Download All as ZIP.

Practical Tips

Start small. A 2× upscale usually looks natural. Larger factors such as 4× or 8× are fine for posters or large screens, but the picture will look softer up close. Pick the method. Smooth is quick and gentle; Lanczos keeps edges a little crisper but takes longer on big files. Sharpen gently. Too much amount or radius creates bright halos around edges. A threshold of 2 to 4 keeps grain and noise from being boosted, and a little noise reduction first helps on dark or high-ISO photos. Match the format to the job. PNG for graphics and screenshots, JPG for photos and smaller files, WebP for modern websites.

When It Helps

It is useful when a product photo needs to meet a minimum size, when you want to print a small picture a little larger, when an old scan looks flat, or when a screenshot needs crisper text. It is not a replacement for a sharp original: if you can retake or re-export the picture at full resolution, that will always look better.

Frequently Asked Questions

Is this real AI upscaling?

No. The tool uses classic image processing: browser or Lanczos resampling to enlarge the picture and an unsharp mask to sharpen edges. That makes a photo bigger and crisper, but it cannot invent detail the camera never captured, so a tiny or heavily compressed image will still look soft.

Are my photos uploaded to a server?

No. Every step runs inside your browser on your own device. Your pictures are not sent anywhere, and the page does not need an account or sign-up.

How large can my images be?

You can add up to 50 images at a time, each up to 50 MB and 25 megapixels. The enlarged result is limited to about 36 megapixels and 10,000 pixels on the longest side. If your phone or computer cannot allocate that much memory, the tool lowers the size and tells you.

Why does my enlarged photo still look soft?

Enlarging spreads the existing pixels over a larger area. If the original was blurred by camera shake, focus errors or strong JPEG compression, sharpening can improve the edges but not restore lost detail. Try a smaller factor, a little noise reduction, and a moderate sharpening amount.

Which output format should I choose?

Use PNG for screenshots, logos and graphics, because it keeps every pixel exactly as processed. Use JPG for photographs when you want a smaller file, and WebP when the site or app you are uploading to supports it. Transparent areas become white in JPG.

Which sharpening settings work best?

For most photos start with the Natural preset: about 120% amount and a 1.5 px radius. Raise the radius a little for very large images, add a threshold of 2 to 4 to avoid sharpening noise, and use the Text preset for scanned pages or screenshots.